5 Gutenberg Development Tips for a Post-Block WordPress
< Back to BlogGutenberg is probably the most divisive addition to WordPress in its history, but also appears to be here to stay. While reworking my WordPress processes to accommodate, I’ve picked up a handful of patterns and tricks along the way that have become standard on almost every subsequent project. These nifty hacks mostly take very little time to implement, but can have an instant and positive effect on your Gutenberg development workflow.
1. Widen the Gutenberg editor
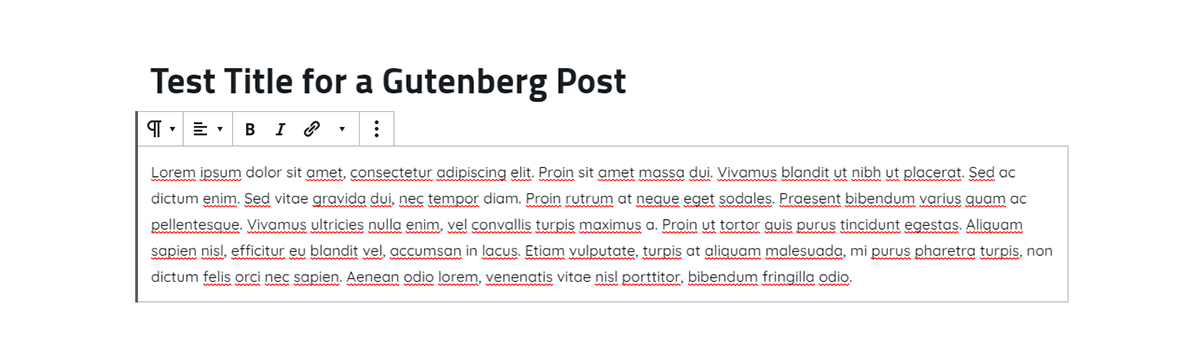
I’ve always thought the block editor was too narrow. Especially when building UI meant to display full-width across the user’s screen, the current default 610px just creates display issues (and that compounds with nested blocks). I like to use two different starting projects when I work on a WordPress website: a theme and a Gutenberg block plugin. I suggest making this change in a block plugin, but if you haven’t dipped into Gutenberg development, it can just as easily be added to a theme.
Task Runners
Gutenberg comes equipped with a hook for “enqueue-ing” assets just for the editor, and most block plugins include a separate CSS file dedicated to these styles. That gives simple enough access to add styles targeted directly at the editor itself. Where this gets tricky, is Gutenberg development is usually done with the aid of a task runner, or build process. This allows developers to write in more advanced versions of traditional languages, while the task runner converts the code to something a computer (browser in this case) can actually read. The one I’ve seen used the most in other block plugins, is also my personal preference: Webpack.
So, since I have access to it, I write with Sass (specifically SCSS) instead of CSS for both my block plugin and theme projects. Technically, you can develop for Gutenberg without a build process, but I do not suggest taking this route for a production project. At any rate, let me back up to the hook I was talking about earlier: enqueue_block_editor_assets. I use it to enqueue my block JavaScript and the blocks-edit.css file compiled by Webpack, housing the editor specific styles.
SCSS Partials
Sass allows the importing of smaller, or “partial” style sheets so developers can chop up and compartmentalize styles for organization. Blocks-edit.scss imports a collection of child (aka “partial”) style sheets, including the one dedicated to the editor:
The _edit-common.scss file targets .edit-post-layout__content class, a wrapper element for the editor. Within that div, every block is easily styled using the .wp-block class, as all Gutenberg blocks render with that class.
This overrides the standard max-width WordPress has in place for a wider 1000px value, giving you a more comfortable editing experience.
If you’re new to Sass and some of this syntax is unfamiliar, check out this guide to the basics.
2. Include your fonts on the backend
One of the tricky aspects of building Gutenberg blocks is finding the right balance between custom themes and block plugins. The key is in the proper separation of presentation (theme) and structure (blocks). The struggle, however, is creating a clean divide between those worlds while still facilitating custom elements and preserving display coherence. One of the easiest steps toward this goal is making sure the block editor uses the same font families as your front-end styles.
For this one, the work happens in the theme instead of a block plugin. Also, depending on how you use fonts in your projects, this point might not have as much relevance to your workflow. The sentiment, though, can be applied to most WordPress setups, and the result helps the consistency between the editing and frontend experiences.
Block editor assets function
I use Google fonts on almost all of my projects. I like that the font is added the same way as a typical style sheet, and using sass, each font-family value is stored in a variable to use throughout the rest of the theme’s styles. This is my current wp_enqueue_scripts function:
And here is a basic example of how those SCSS variables might be used:
To make these fonts available in the editor, the same enqueue_block_editor_assets hook can be used by the theme, but the function must use a different name than the one used in an active block plugin (so not to cause a PHP error). I’ll call it “jab_editor_theme_assets”.
Add blocks.scss to Webpack
Now that the fonts are included, let’s assign them to the elements within the block editor. For this, I’ll create a new style sheet called blocks.scss in the same folder as the theme.scss file.
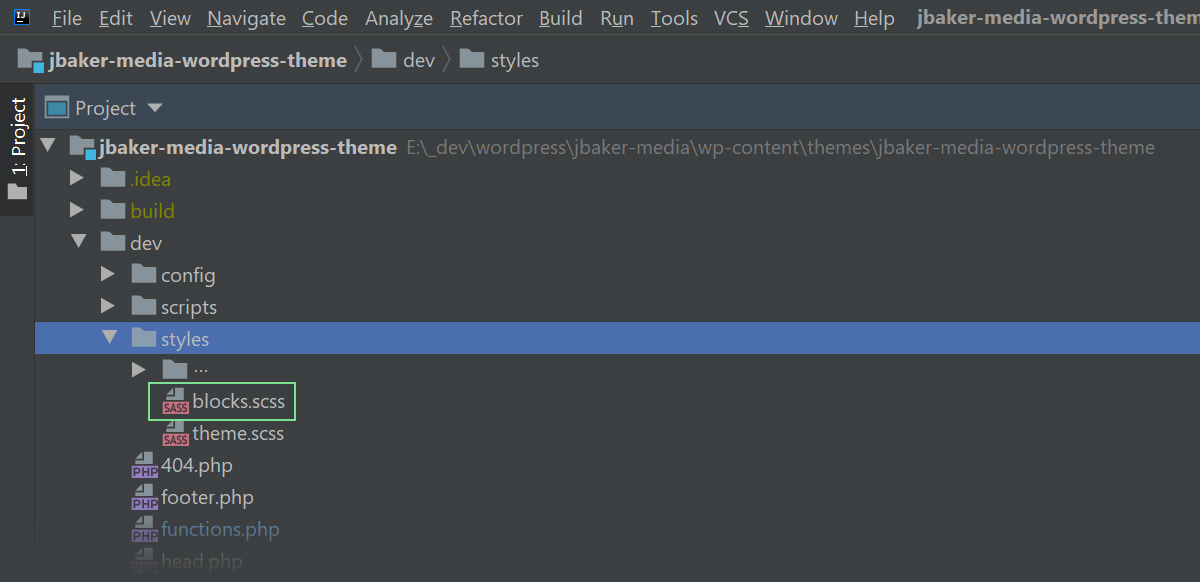
Because i’m writing Sass, I need to modify my project’s Webpack configuration to compile blocks.scss into browser-ready CSS. If you’re using another build tool besides Webpack, my pattern won’t translate directly for your workflow. But, just in case it’s helpful, this is my updated configuration file:
I add a new item for “blocks” in the entry object, and a rule that applies an extraction configuration when blocks.scss is detected. That config is saved in a variable near the top of the file called blocksSaveCSS and essentially matches the one used with theme.scss.
This leverages the extract-text-webpack-plugin to bundle the CSS into its own file. The path specified in the “filename” property within that extract config is where Webpack will place the processed file. Finally, to be properly requested on posts using the block editor, the style sheet is included with the other block editor assets:
Avoid the WP dashboard elements
Now we’re ready to actually add some styles to this thing, starting with a font-family. I want to avoid applying the font to the WordPress dashboard elements surrounding the block editor, so I’ll make my styles specific to the .wp-block class. Remember, the font-family value is stored in a $baseFont SCSS variable. To access this value, the variables.scss file also needs to be imported.
Admittedly, that was a bit of a deluge. However, this is easily the most tedious item here, and combined with the next point, solidifies the continuity between the two views.
3. Include your theme’s default styles
Many themes come with a set of default, or “reset” styles designed to compensate for, and align all major browser inconsistencies into a shared starting point. Adding some of these styles to the Gutenberg editor can further increase its likeness to the frontend experience.
I prioritize links, headings, inputs, lists and a poorly named “grouping” style sheet that I haven’t figured out how to properly label. It covers a variety of html tags including <code>, <pre> and <blockquote>. Beyond that, I like to include any customized plugin elements (overriding form builders), utility classes and some other class-specific styles that might be leveraged often in posts.
4. Provide your theme’s custom colors to your blocks using add_theme_support
Another item I struggled to initially support well, is custom or branded colors. My first inclination was to add my theme’s color variables to the companion Gutenberg plugin’s styles. However, I didn’t like the redundancy this created in my process, and I don’t want any part of my block’s appearance tied so tightly to a theme.
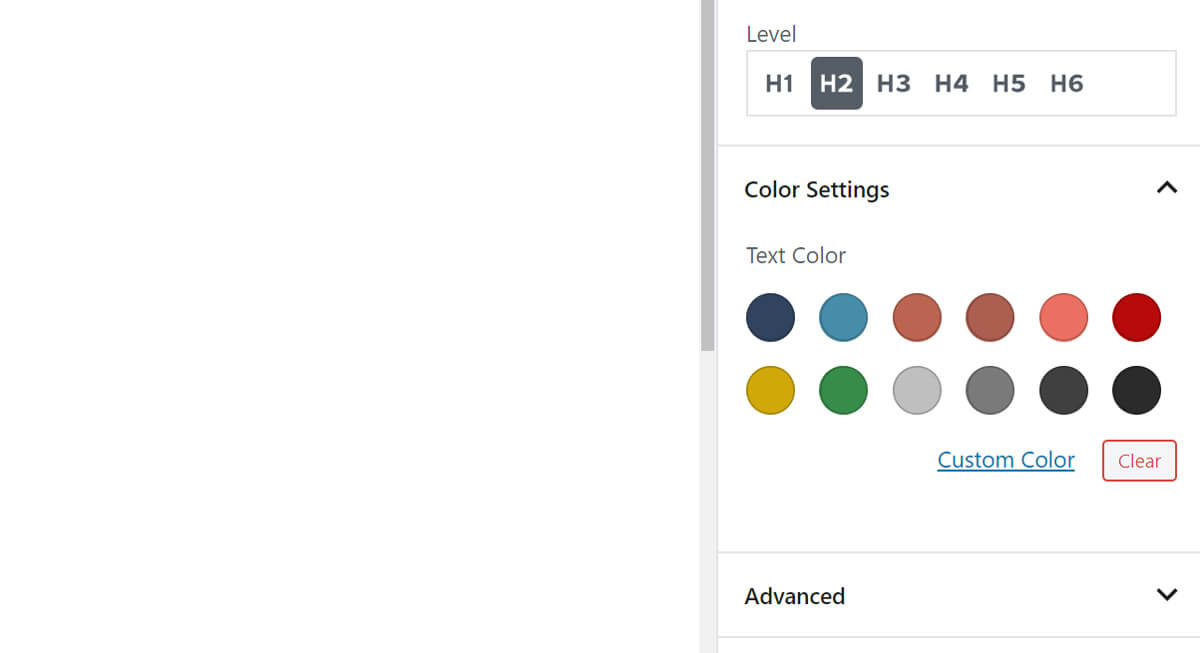
The solution is slightly bitter-sweet. WordPress’ add_theme_support conveniently provides color values to blocks using the <ColorPalete /> component. The downside is: your custom blocks now require attributes for every color you intend to use, increasing production time.
The upside being, your blocks gain their independence. Keeping the theme and plugin code bases in sync creates consistency issues, increases time spent in quality control and just really gets old quick. This efficiency gain probably even cancels out the initial extra work time.
Initial prep
Typically, I won’t include more than 12 values (including shades of grey). I also like to get all of my color variables completely locked down before configuring add_theme_support. Here is an example collection of variables:
Configure PHP
Once I’m ready to move on, I create a colors.php file and include that into my theme’s functions.php file. Colors.php contains an array of arrays, each child array item has a ‘name’ and ‘color’ property (with values). ‘Name’ is the label for the color the user sees in the side panel, while ‘color’ is simply the hex color code.
Here is how I include colors.php into functions.php, and pass the $themeColors variable to my theme’s ‘init’ function:
Once this is properly configured, any block using <ColorPalette /> will display the theme specific colors:
5. Create a custom Gutenberg block category
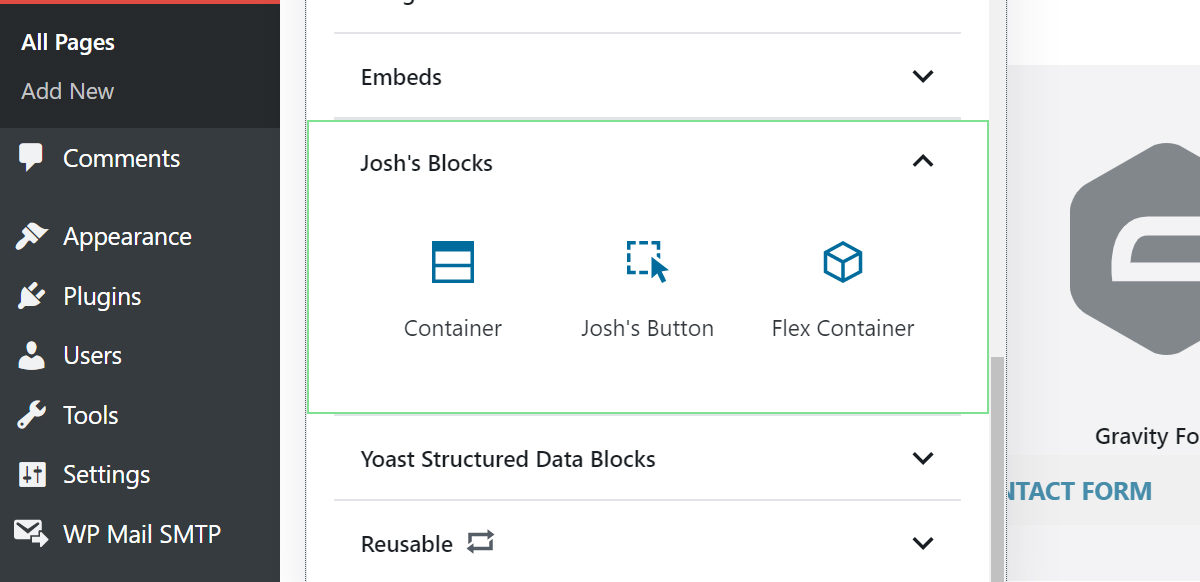
Gutenberg comes with a handful of categories like “Layout”, “Widget” or “Common Blocks” to organize your own blocks with. While these are mostly quite useful, I find it easier to access my blocks when they’re all stored in their own category.
Create category function
Flipping back over to the Gutenberg block plugin (finally), the method for adding a custom block category is quite simple. I create a custom-category.php file, and add a function to it that will be used to hook into 'block_categories'.
First, !function_exists checks if the function has been called elsewhere already, and will prevent a duplicate from running to protect against PHP errors. But, in the meat of the file, the jab_block_category function takes a $categories parameter and merges that with your own custom entry.
Configure registerBlockType()
The ‘slug’ value is how a block is configured to use the new category. Below, is an example resigerBlockType function. It expects two parameters: a block name and configuration object. Within the object, is the category property that needs to match the value set in custom-category.php.
The block_categories hook
Before the block is available in that category, the jab_block_category function needs to be included into the main plugin PHP file, and hooked into ‘block_categories’.
Once a few blocks are configured with the category slug, they should display correctly in their own segmented drop down:
Conclusion
Gutenberg is still a tiny baby. Documentation could be better, learning material is sparse, and it’s a fundamental departure from traditional WordPress development. A major shift in development approach like Gutenberg can weigh heavy on established, documented processes, and throw future projects into question while the team adjusts. If you’re not struggling with the transition to block attributes and JavaScript functions like I did, then you have my respect (and you should probably write a blog post about it). Either way, I believe Gutenberg is a net positive for WordPress, and I’m excited to continue learning the framework.
If you’re looking for more Gutenberg related reading, check out my post on the <InnerBlocks /> component.